Cute little coffee table that I got at the Salvation Army for about $30. A little plain, but it was wood and it was in my price range (you like that criteria?). I never know what color I'm going to paint a piece until I actually get to work on it. I usually sand and prime in one day and then come back another day to paint (hence the long time in between posts). So I decided that it was going to be red with just a tad bit of distressing because it feels like I've been doing a lot of distressing on my pieces so far. Not sure how popular that is here in Hawaii. I've listed 2 things I've painted on Craigslist so far and only one has sold. It was the cheval mirror for $70. I was so excited! It was mine, but I got a new bedroom suite and it no longer had a home in my bedroom so it was basically free. Oh, back to the coffee table...I decided on red with a black border. Afterwards, when I stood back to check it out, it kinda gave off an Asian feel. I haven't taken any staged pictures to put on Craigslist yet (because I still don't know what to ask for it- any suggestions?) but here are some pics from my garage at night.
Before:
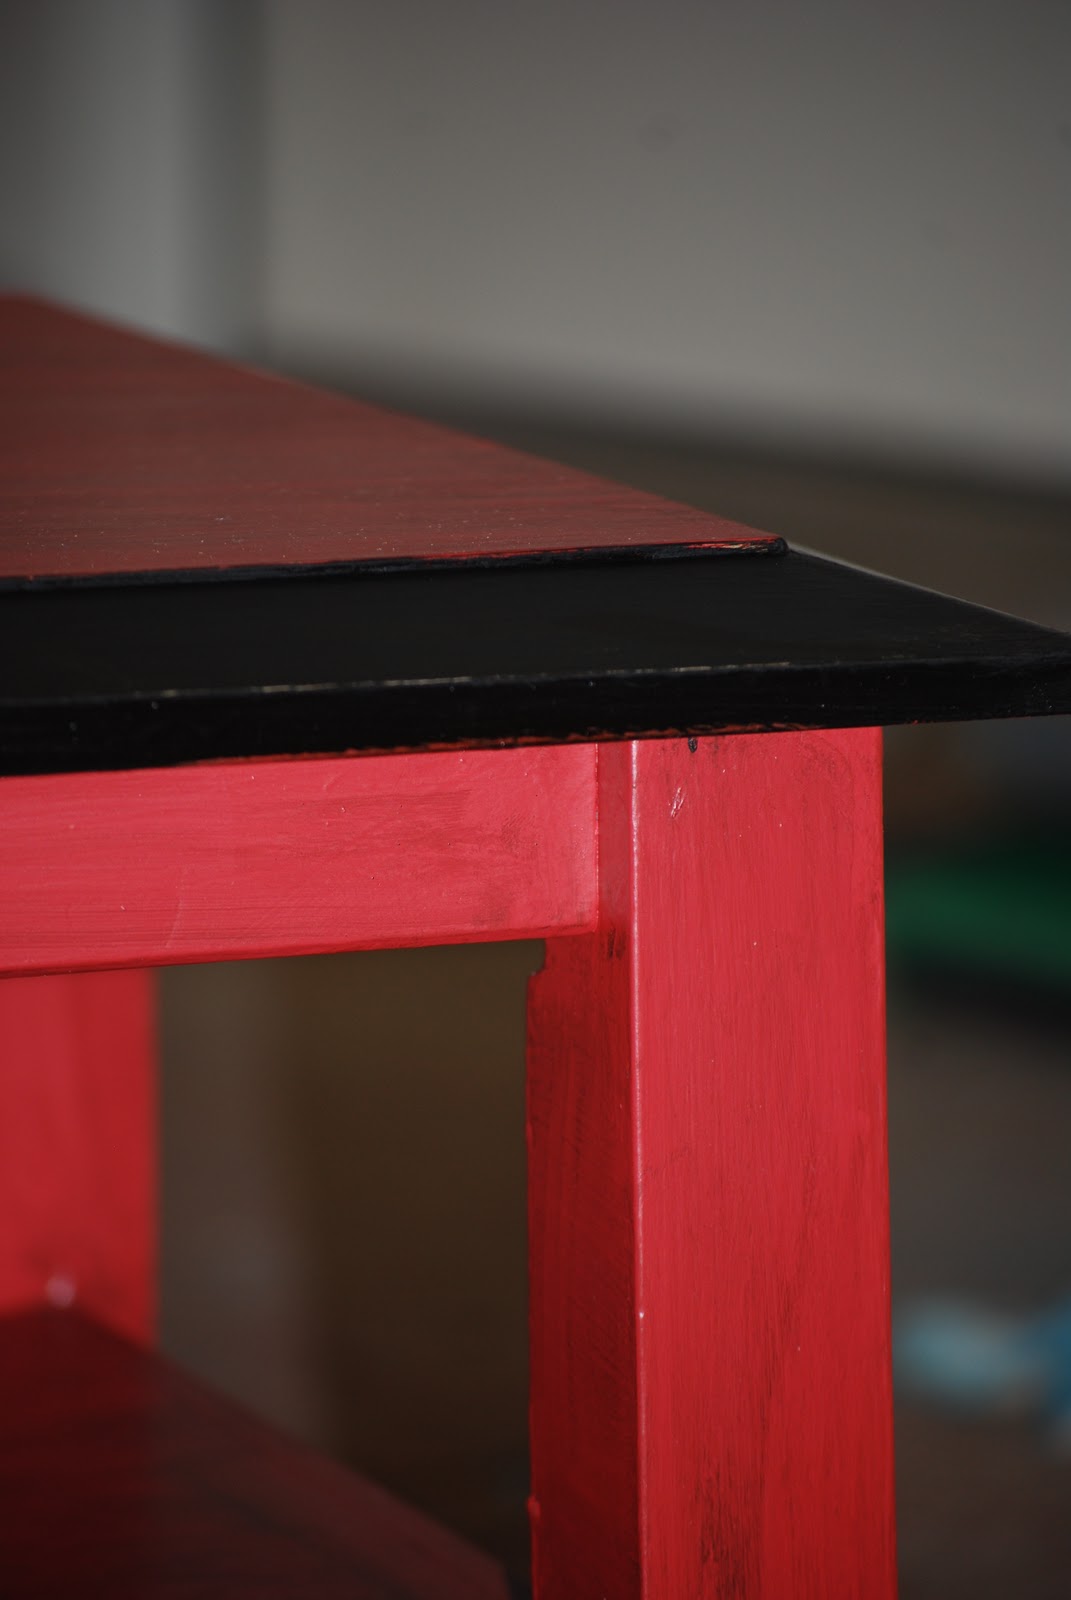
After:
I sanded, primed and painted it red and painted the border black. After the black dried I sanded it back ever so slightly to reveal a touch of red in various spots then I dry brushed on some black glaze.
I finally scored last week at the thrift store! I got 3 pieces that are currently waiting patiently in my garage for their makeover and they were all about $20 each. Here is a little sneak peak. I (kinda) remembered to take before pictures!!! I just LOVE this first one! It's so darling with its raised wood carving and the drop pulls. I hope it's as pretty afterwards as it is in my mind!
Kinda started priming a little. There was a little boo boo on the bottom left that I am trying to bandage up with some wood filler. Here is a close up of it.
This chest thing is interesting. I was excited to find it. It had cute little feet. It looks homemade, but that's ok. The only problem was when I looked inside...
and found this. It's lined with like shelf paper, or wall paper or something. Rather vintage feeling, but I still don't like the way it looks. Not sure what I'm going to do with the inside yet. Suggestions?
Here is piece number 3. Rather plain, but I think I can spruce it up a bit. I plan to swap out the legs with something long and chubby and then add some pulls to the drawers. It also had some minor injuries on the front edges, but nothing too serious. Here you can see my wood filler already working on it.
And that's it. I have a couple more finished products in my garage, but they are awaiting the "right" hardware. You know like - when you see it you'll know. Till next time...
Linking up to:
http://www.domestically-speaking.com/
http://www.bluecricketdesign.net/
http://www.theshabbychiccottage.net/
http://www.somewhatsimple.com/
http://www.houseofhepworths.com/
http://danajeanward.blogspot.com/
http://www.storiesofahouse.com/


 These are just your basic run of the mill cheap wooden frames. My local (overpriced, but only) thrift store usually has these priced at 3-4 dollars. Sometimes, I see 8x10's there for $10! Needless to say, I quickly put them down and keep looking. I don't know who prices their stuff, but they need to recognize!! lol. Thanks for looking.